Just 'Cuz Robotics
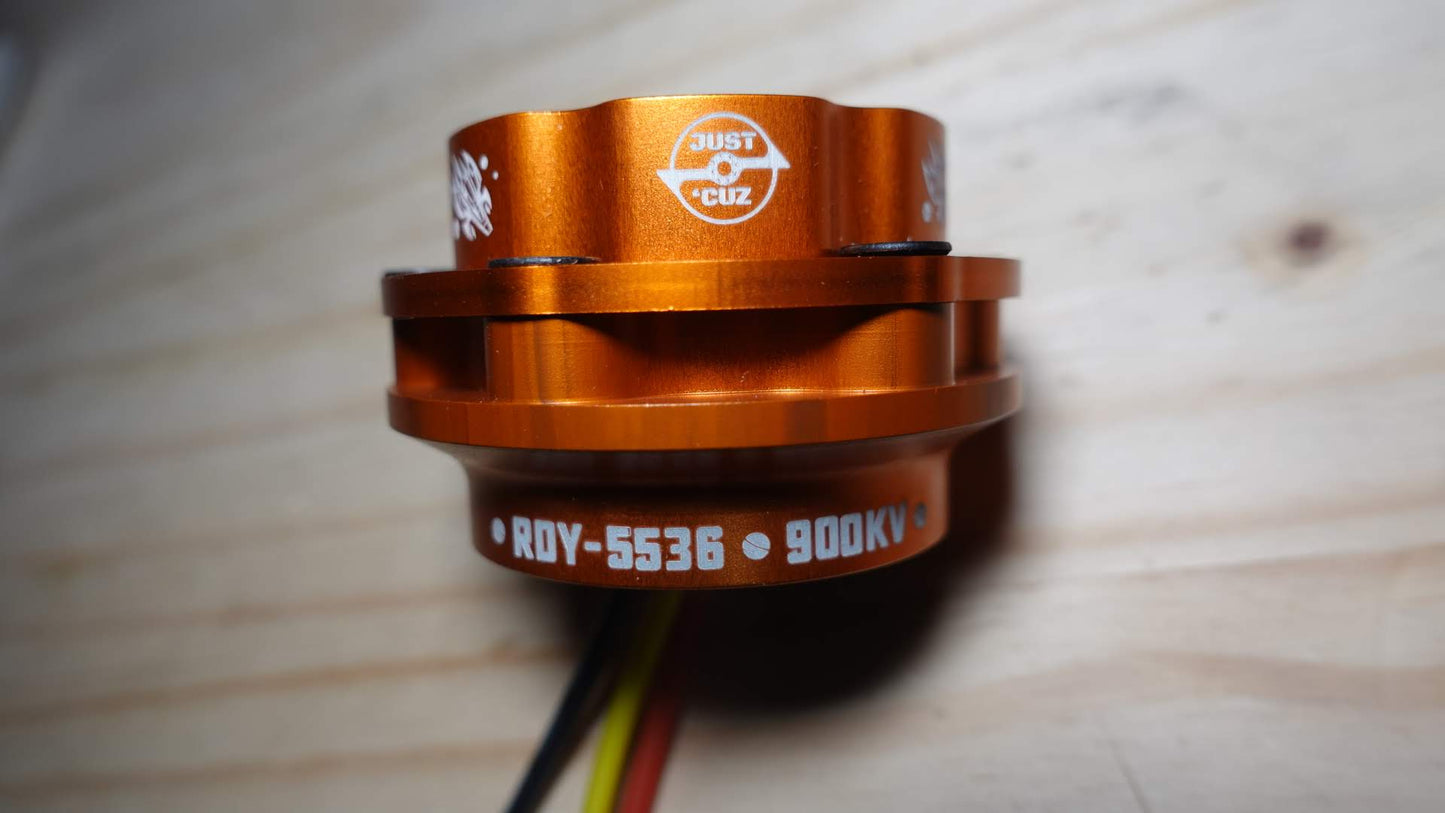
RDY-5536 Hubmotor: Battle-Ready Weapon Motor
RDY-5536 Hubmotor: Battle-Ready Weapon Motor
Share
Couldn't load pickup availability
The Ultimate Battle-Ready Combat Robot Weapon Motor
Congratulations to TurboFIEND who won NHRL October with this motor!
Download the 5536 CAD here!
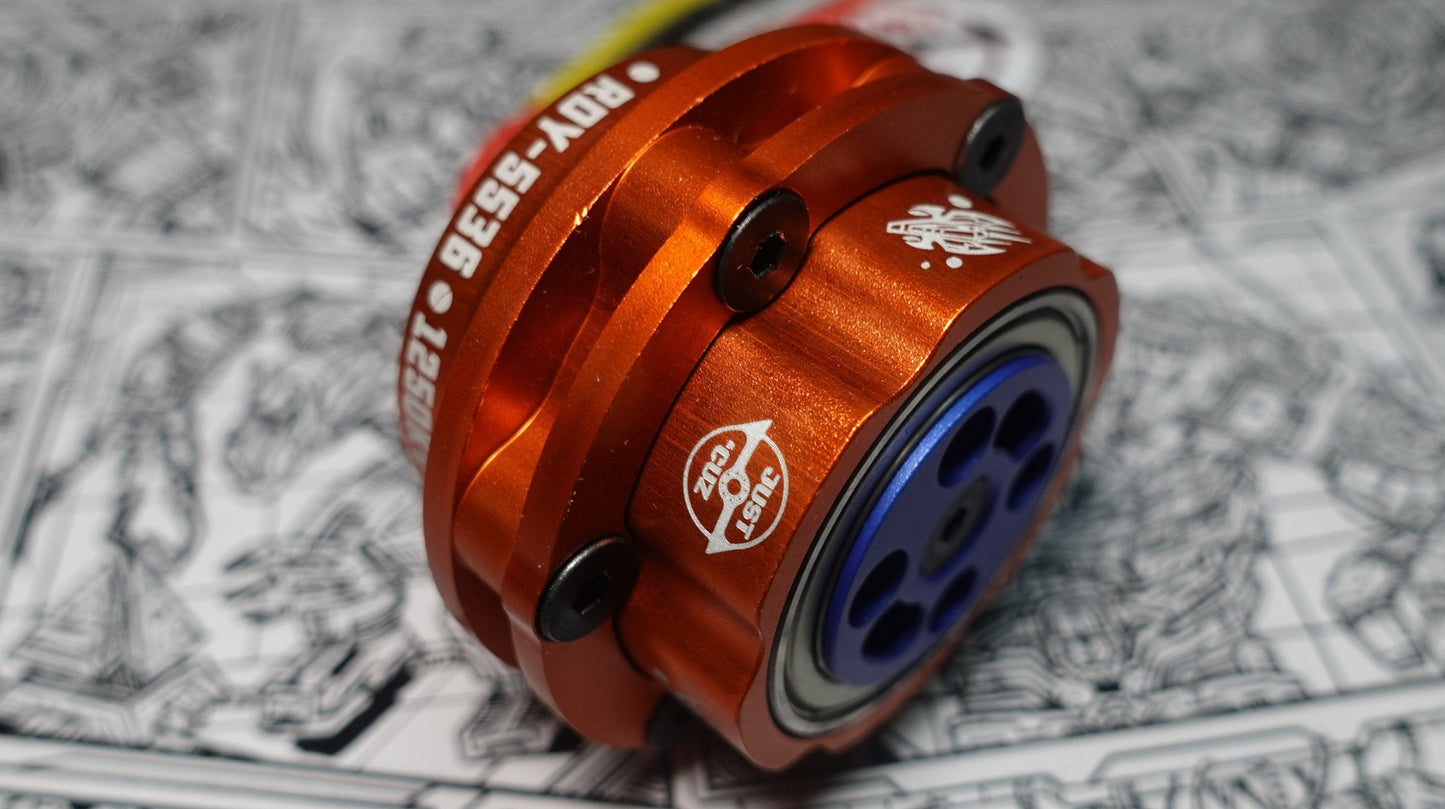
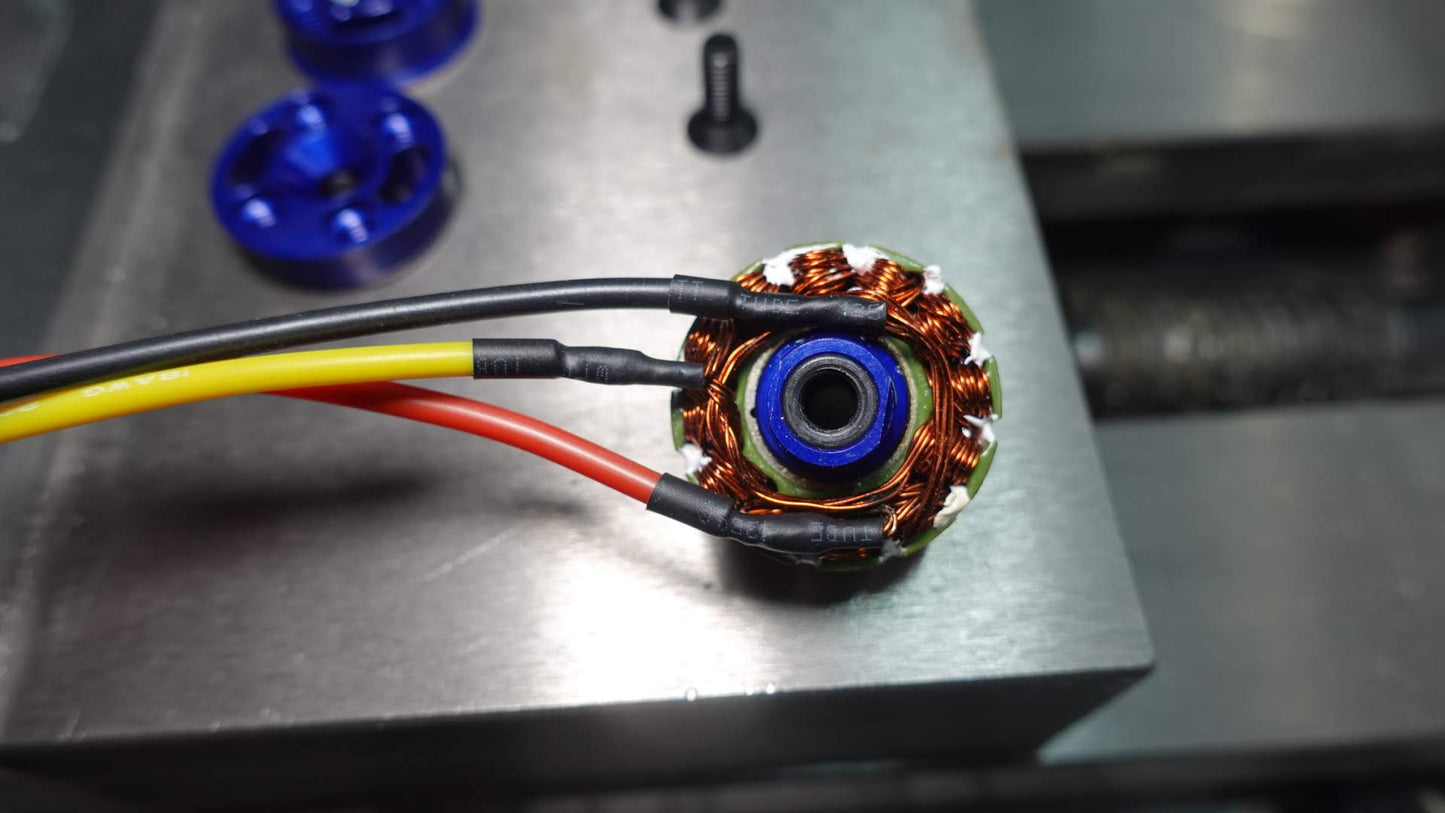
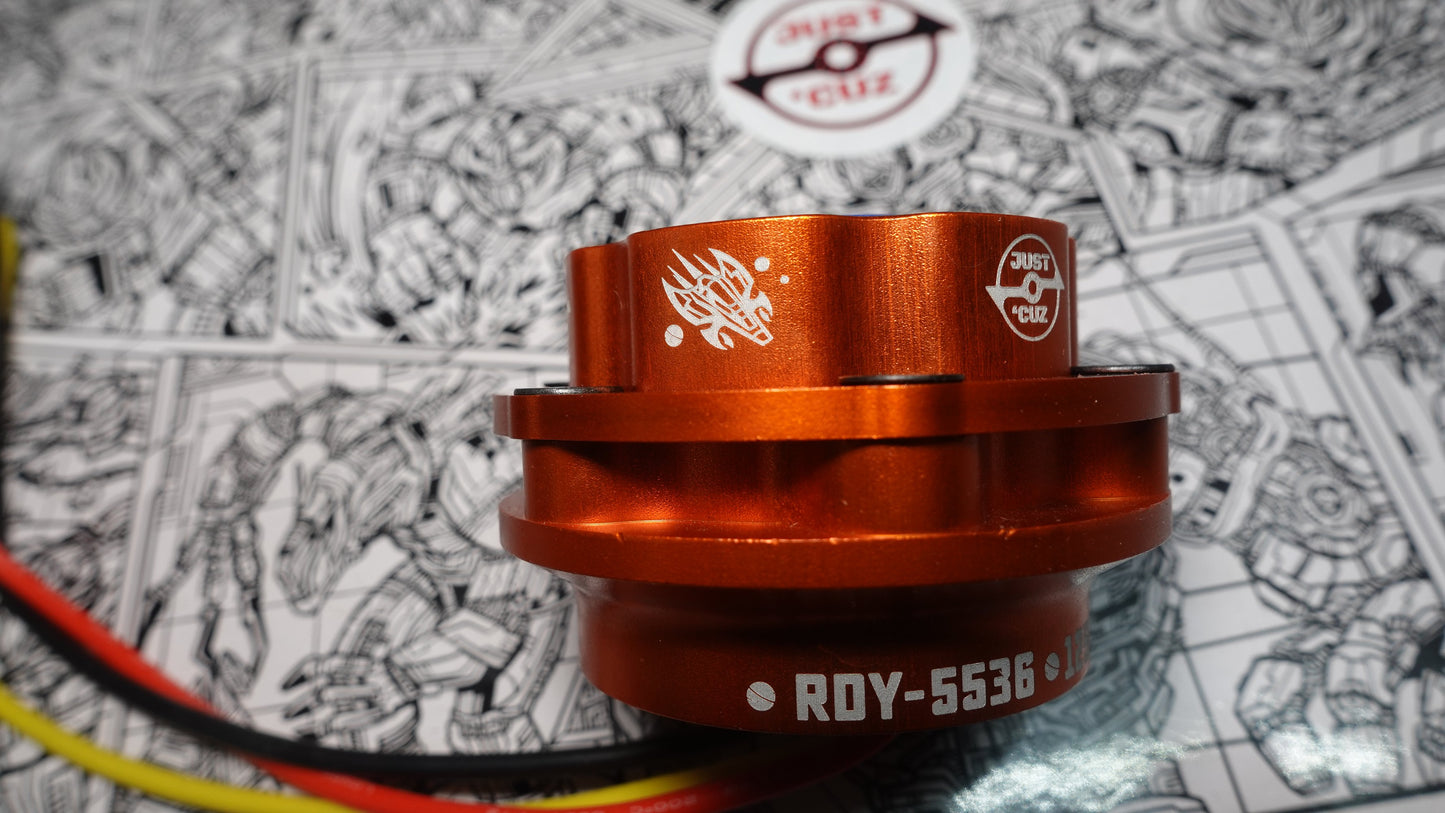
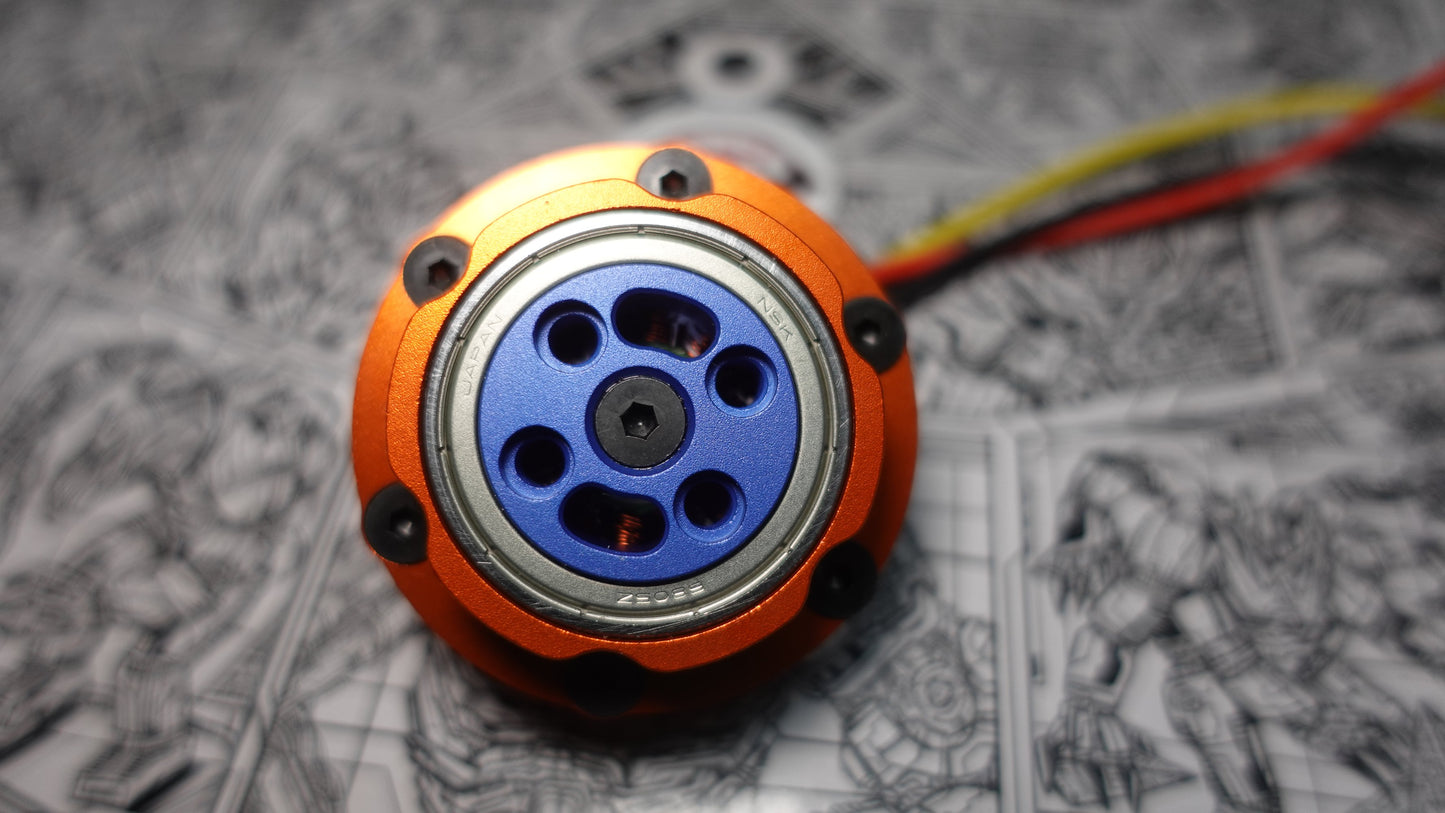
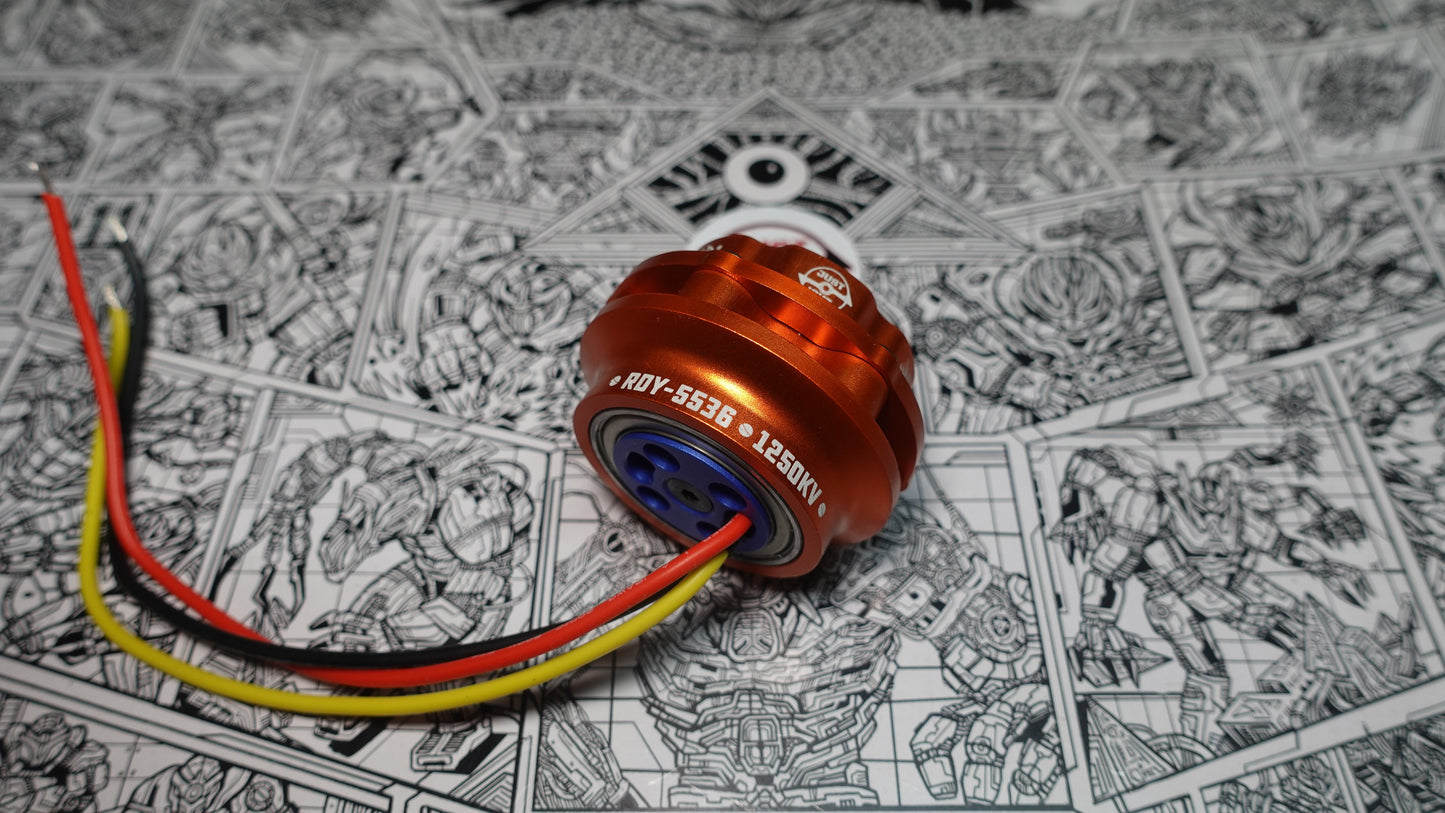
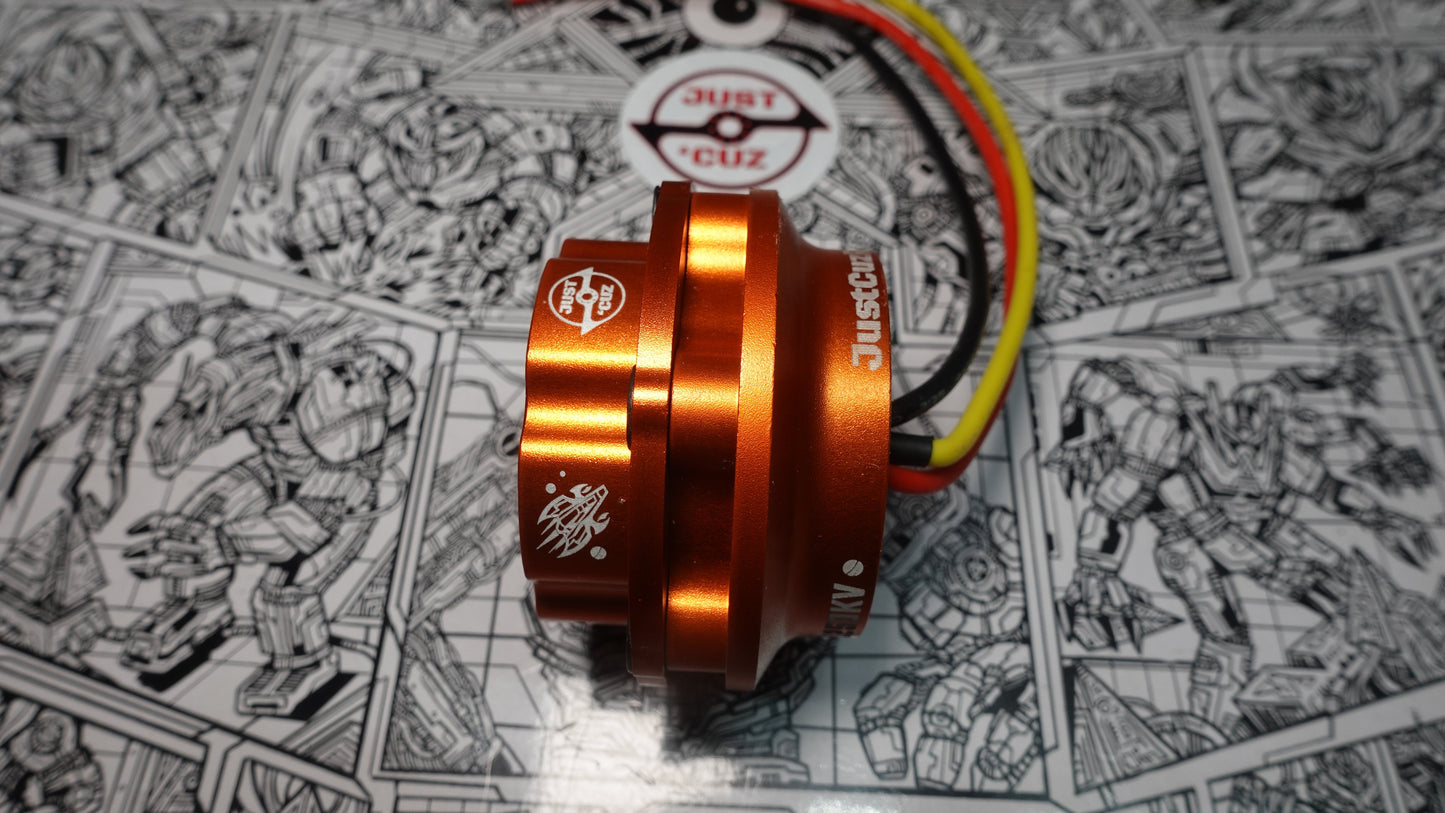
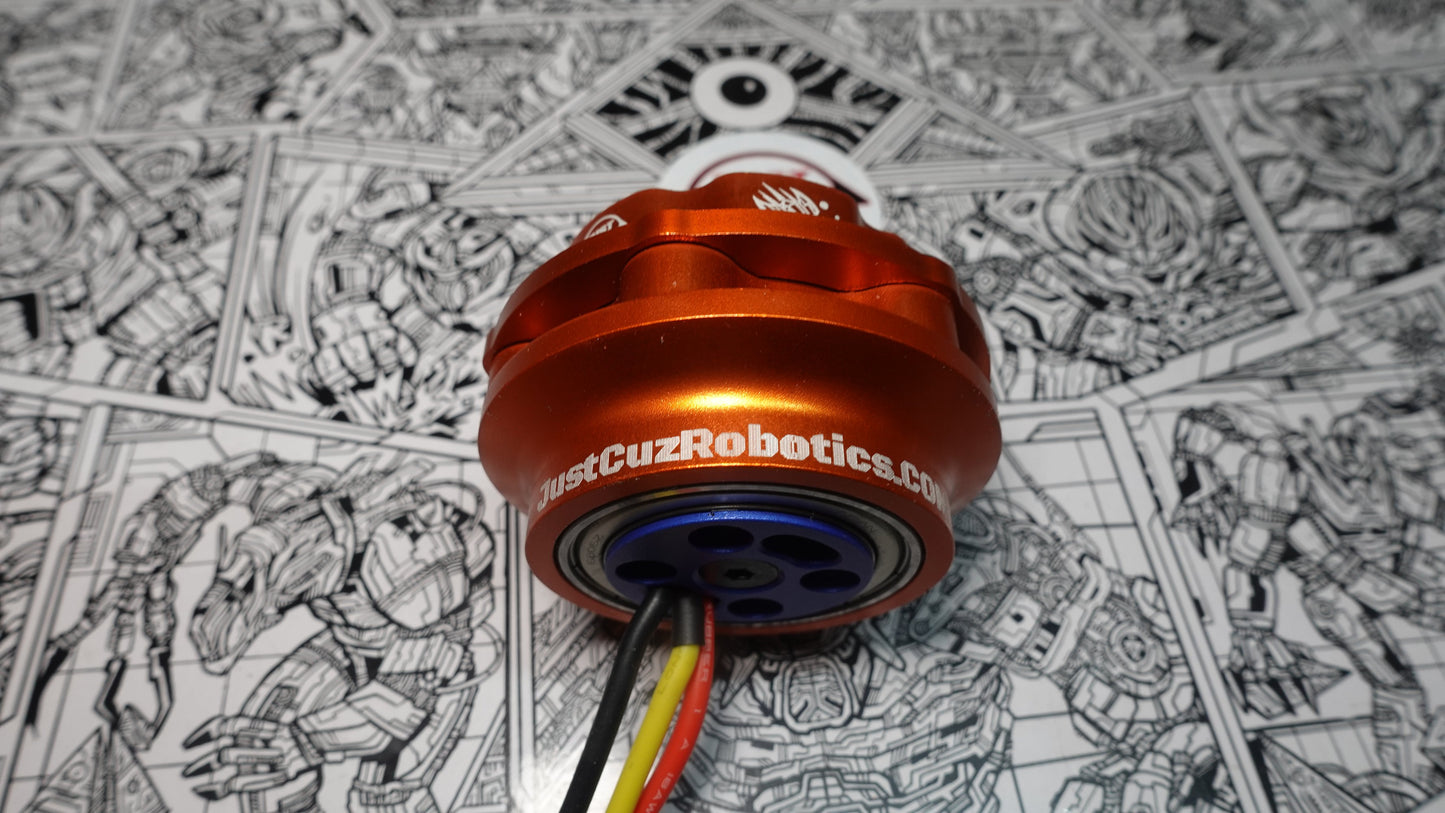
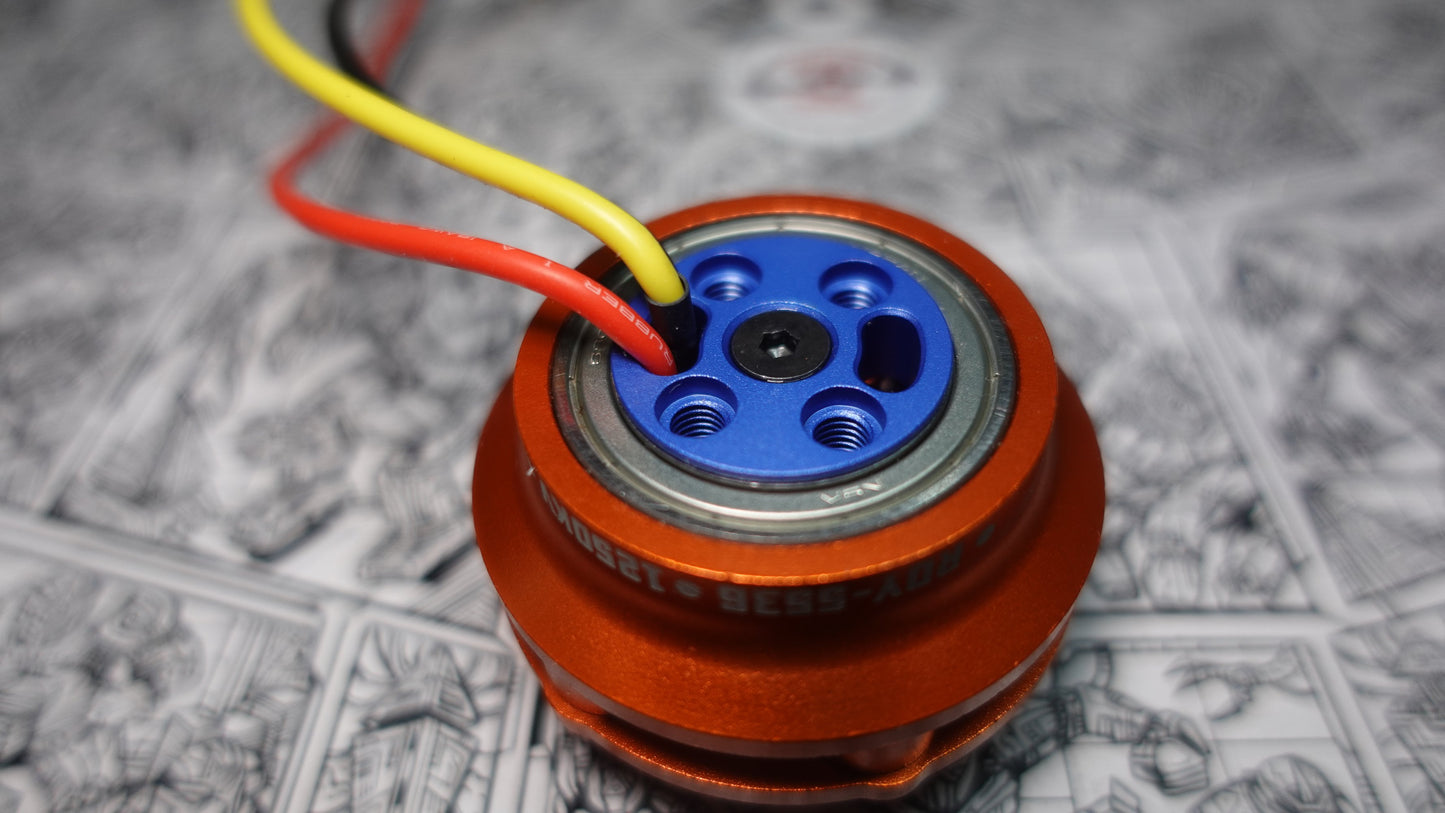
The RDY-5536 Hubmotor is an evolution beyond anything available for combat robots before. Enter the space age, with high-strength 7075 aerospace aluminum construction. Massive bearings. Battle-hardened epoxied magnets. Ultra-flexible high-temp silicone wires. Zero weapon belts. These are just some of what you get with your very own hubmotor!
Click here for a comparison chart for all our hubmotor offerings.
What's Included when you buy a Complete Motor:
- 1X RDY-5536 complete motor, combat-ready out of the box!
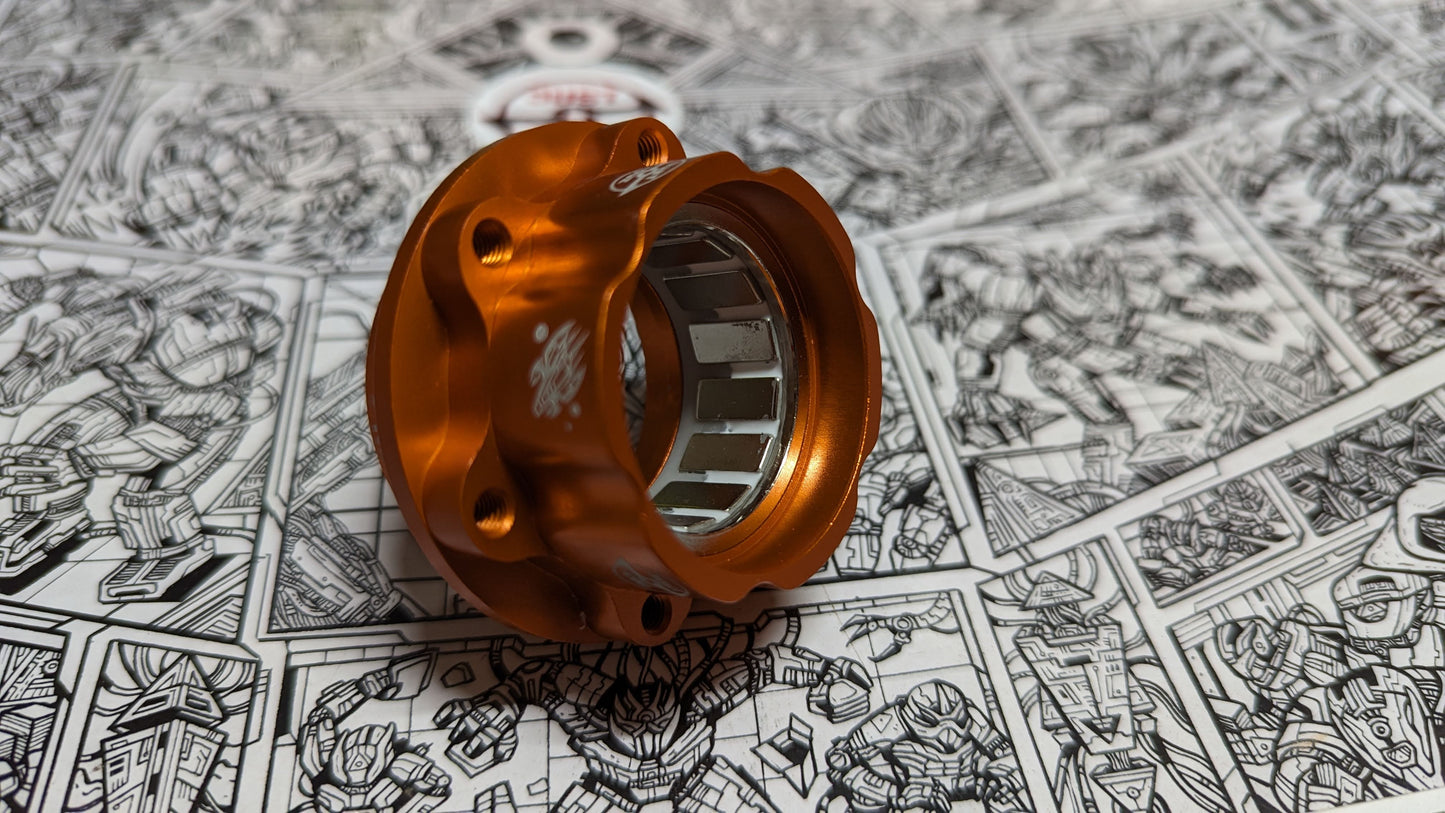
- 1X RDY-5536 7075 aluminum clamp ring
- 6X M4 weapon clamp screws
This motor is intended to be mounted to a rigid robot frame component and as such does not come with a mounting plate or bracket. You must design to mount BOTH SIDES of the motor to your robot, with frame rails exactly 36mm apart.
What's Included when you buy a Replacement Magnet Ring:
- 1X RDY-5536 magnet ring, epoxied and ready to go!
What's Included when you buy a Steel Shaft Upgrade with 1200kV Stator:
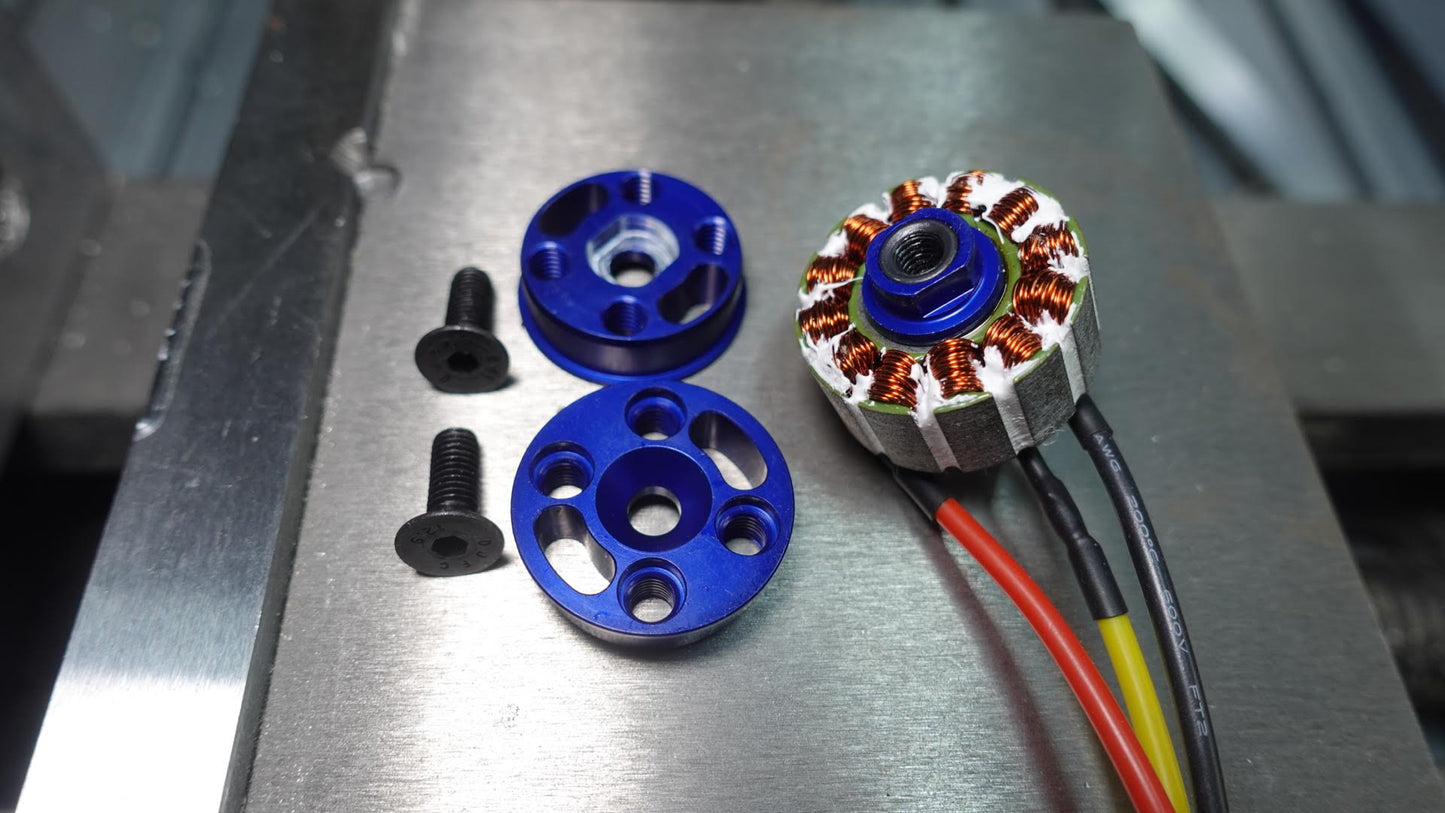
- 1X RDY-5536 Shaft + Stator assembly. This has 7.5mm diameter 4140 hardened steel through shaft, a 7075 aluminum sleeve, and epoxied stator pressed together to form a single part
- 2X RDY-5536 Inner Hub V1.2 parts, anodized blue and machined from 7075 Aluminum (not compatible with the V1.0 stator/shaft)
- 2X M5 x 10mm alloy steel flat-head screws
Specs and Usage
Specs
- Dimensions: 55mm diameter, 36mm length
- Stator Size: Roughly 28 x 12mm (similar to 3536 can motors)
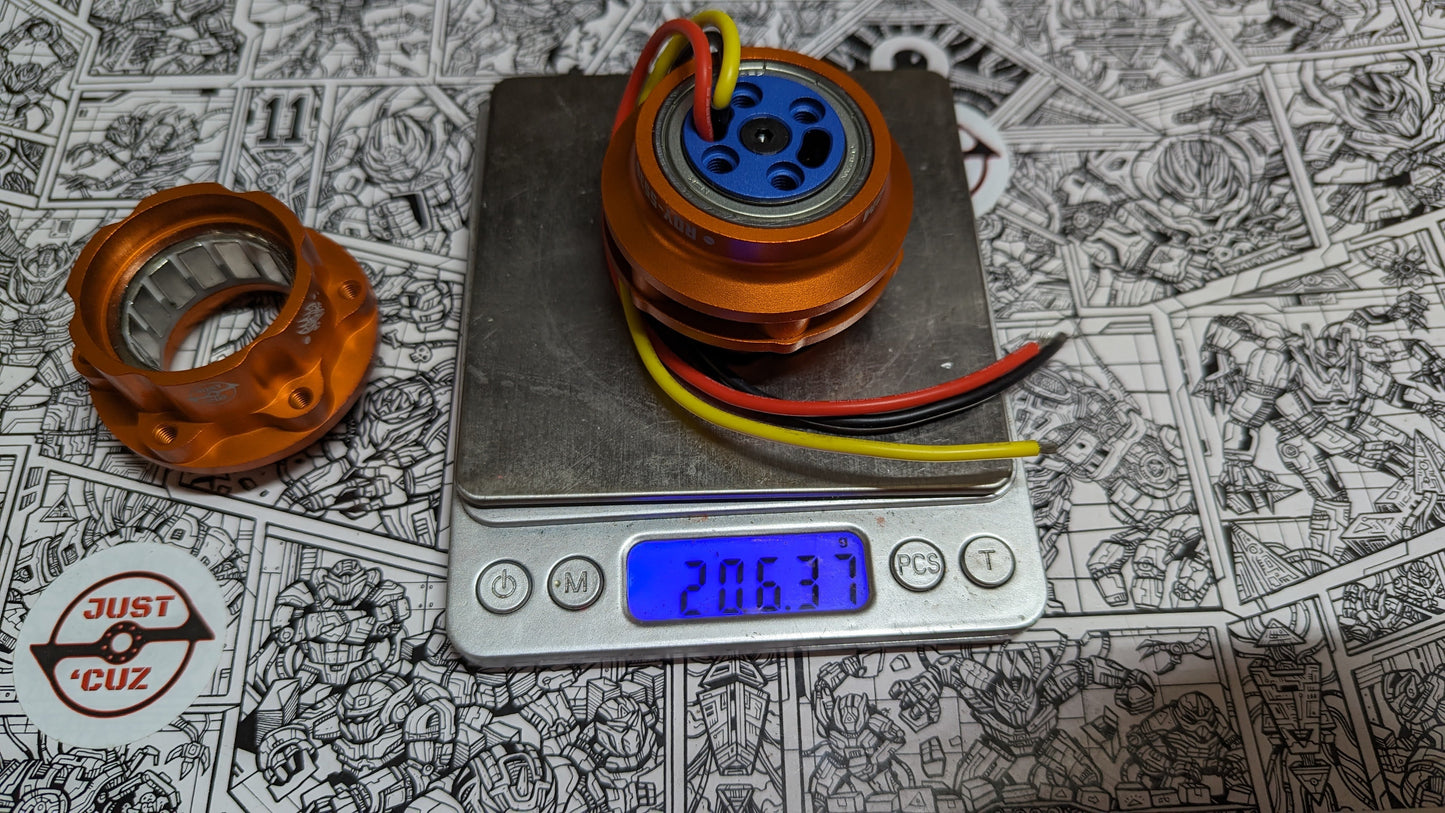
- Weight: 212 grams (7.5 oz, 0.47 lb) with bullet connectors
- Gigantic 6805 bearings with >600 lbf static, >900 lbf dynamic load ratings
- KV: 1200kV or NEW 900kV
- Voltage: 3S-6S with appropriate ESCs
- Power and Current: test data coming soon!
- Use 8X M5 bolts, or 8X SHORT THREAD 6mm shoulder bolts for mounting to your robot frame. MAKE ABSOLUTELY SURE NOT TO USE SCREWS THAT THREAD TOO FAR IN OR YOU WILL DESTROY THE MOTOR COILS!
- No circlips, belts, or set screws!
- Super strong, curved neodymium magnets
- Epoxied magnets for extra durability
- High-temperature copper windings
- 18AWG, 18 cm (~7 inch) long silicone wires rated to 200 degrees C
- NEW: 3X 3.5mm bullet connectors, male preinstalled on the motor, and female included for your ESCs
- Winding Resistance:
- 1200kV ~111 milliOhms
- 900kV ~177 milliOhms
- Designed for use with 6mm or 1/4" thick weapon blades. Thinner can be used with a spacer, and thicker will be fine but will be offset from center and may require longer M4 flathead clamping screws. Max recommended thickness 0.5inch or 12.7mm.
CAD download includes Division V4's blade with the proper spline geometry needed. We recommend offsetting the spline by about 0.006" (0.15mm) from the actual motor profile for a better weapon blade fit.
Note: The first time this motor is spun up it may draw unusually high current even with no load. This is normal and seems to be a result of the big bearings and their grease needing to warm up and distribute evenly. After a couple of minutes the no load current for the motor drops significantly as the motor and bearings heat up. Warning: The outside of this motor is like a big heatsink and can get very hot!

WARNING: Using standard shoulder bolts or M5 screws that are too long will destroy your motor. Shown here: LEFT short thread shoulder bolt vs RIGHT standard thread length. If you buy a normal bolt, cut the thread to protrude no more than 5mm into the motor.

Experimental Bench Test Data: TBD (Using Pariah 70A ESC)
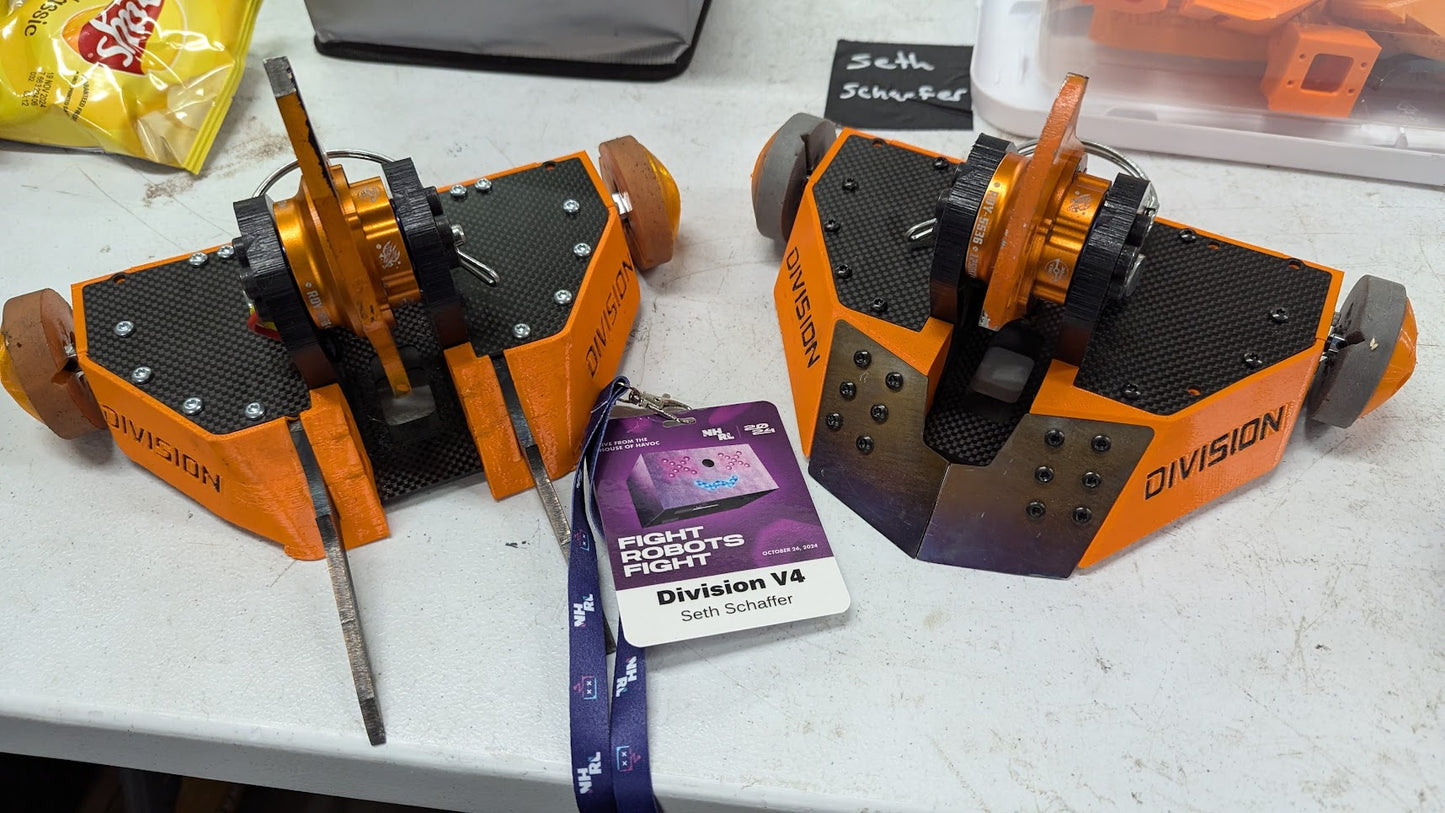
Division V4 uses this motor with a 1/4" thick, 6 inch diameter blade. The current draw on 4S LiHV of this setup at max speed is around 25 amps continuous with a peak of around 45 amps on spinup. More testing needed on 3S and 6S voltages.
Power and ESCs
For best results, pair with our very own Pariah 70A ESC with AM32 firmware pre-programmed for this very motor!
This is a custom motor and not a conventional one so a propeller chart is a useless stat to compare this to. You should use a 50A or greater rated ESC. This has been tested and working with 70A BlHeli32 and AM32 ESCs, as well as our 35A ESC on up to 4S (though for larger than 4" weapons we strongly recommend the Pariah 70A).
Actual current draw and torque are highly dependent on your exact ESC and configuration, battery, voltage, and loading. Air resistance and tip speed for your weapon play a huge role in the current draw of your system. Even reducing speed by 20% might cut air resistance in half.
Disclaimer
Warning: combat robots are not toys! They are extremely dangerous. Click here for a safety video.
Testing a robot with an active spinning weapon should never be done while maintaining a line of sight with the robot. Ideally, you should be testing inside an enclosed box or arena with at least 1/4" thick polycarbonate windows or top to see through, and 1/2” or thicker plywood or MDF construction. Operation (Including testing) outside of a suitable arena or test box could cause serious injury. By purchasing this product you acknowledge that you are responsible for the safe use of this product and that Team Just ‘Cuz Robotics or its employees are not liable for any injuries or damages.
This thing is a beast, both in power and construction. My beetleweight has this, it's a scary powerful weapon, and i'm looking forwards to fighting it. So far, i've only ever had issues with fastening the motor, which can be fixed using blue threadlocker, and the weapon mount hasn't given me issues, as it's not vibrating, rather it's part of the rotating assembly. The whole thing with the snaggletooth blade weighed in at about 13oz. That's a bit nuts, BUT most of that is rotating mass directly tied to the weapon, so free extra hit power.
I am absolutely floored by the capability of this weapon. I highly recommend to anyone looking for a easy to integrate weapon system. More info below!
I have been wanting to make my own weapon motor for a while. However, with all my other projects, it will be a long while until I am able to tackle that project. I found Seth was developing one and I have used many of his Just 'Cuz Robotics products before which have a reputation of high reliability and longevity within the robot combat environment.
My 3lb bot Defiant has been needing a weapon upgrade for a while. Since I did not want to redesign to implement a better belted system, I found a way to integrate the 1200KV RDY-5536 by changing the uprights of Defiant. There are 4 mounting holes on each side that is easy to attach (be sure not to have the screws go into the rotor). I decided to make small aluminum shims with TPU dampers to mount the motor to the uprights. The overall assembly is easily serviceable and much better protected than an exposed motor. I attempted to use a 55A esc which ended not being enough for my 4s 4 inch weapon disk. I then purchased the Pariah 70A AM32 ESC. That did a trick eliminating overheating and underperformance. Once done, I tested on some of my old frame
I took my new version of Defiant to Champ Makerspace's combat robot event October 5th and ended up winning the championship with a 4-0 record. The weapon fought 4 hard fights with no issues dishing hit after hit. I do recommend replacing the bearings after a certain amount of fights as they start sounding rough. However, the rotor and housing look mint and the coils are still in like new condition.
I highly recommend, a good amount of knowledge of how brushless motors work and function is highly recommended. At least watch Seth's videos prior to taking them apart. Thanks!!!
