

Just 'Cuz Robotics
SNIPE Dual 40A AM32 Brushless ESC
SNIPE Dual 40A AM32 Brushless ESC
Couldn't load pickup availability
Simplify and condense wiring with SNIPE!
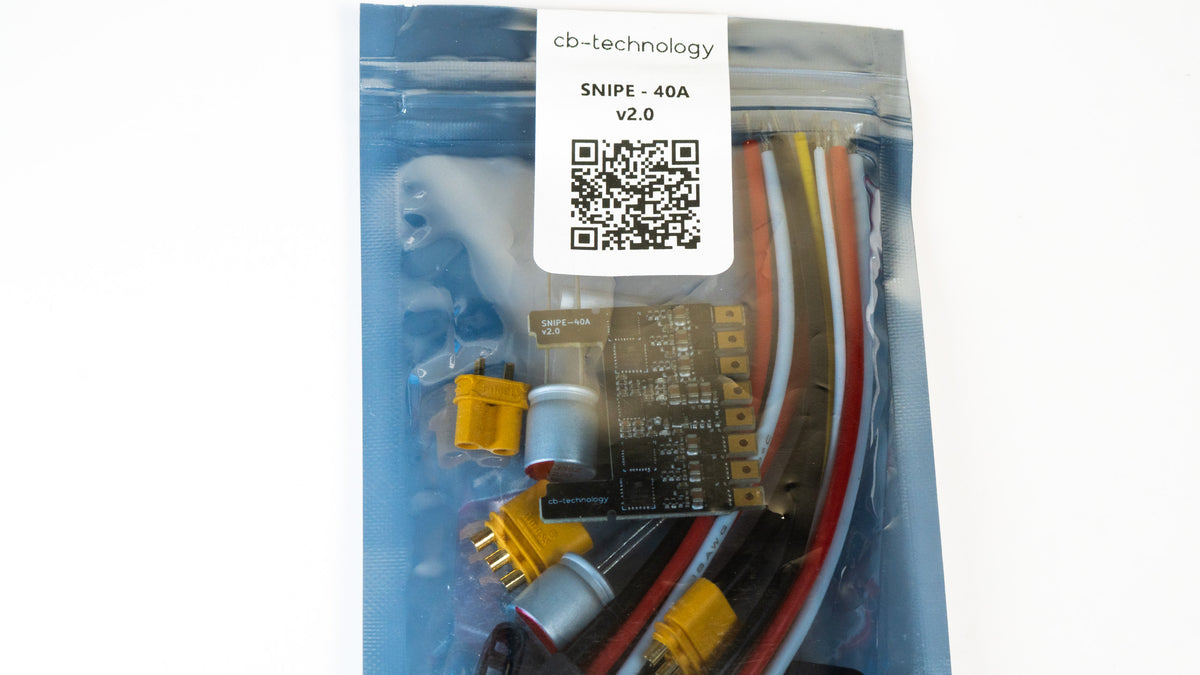
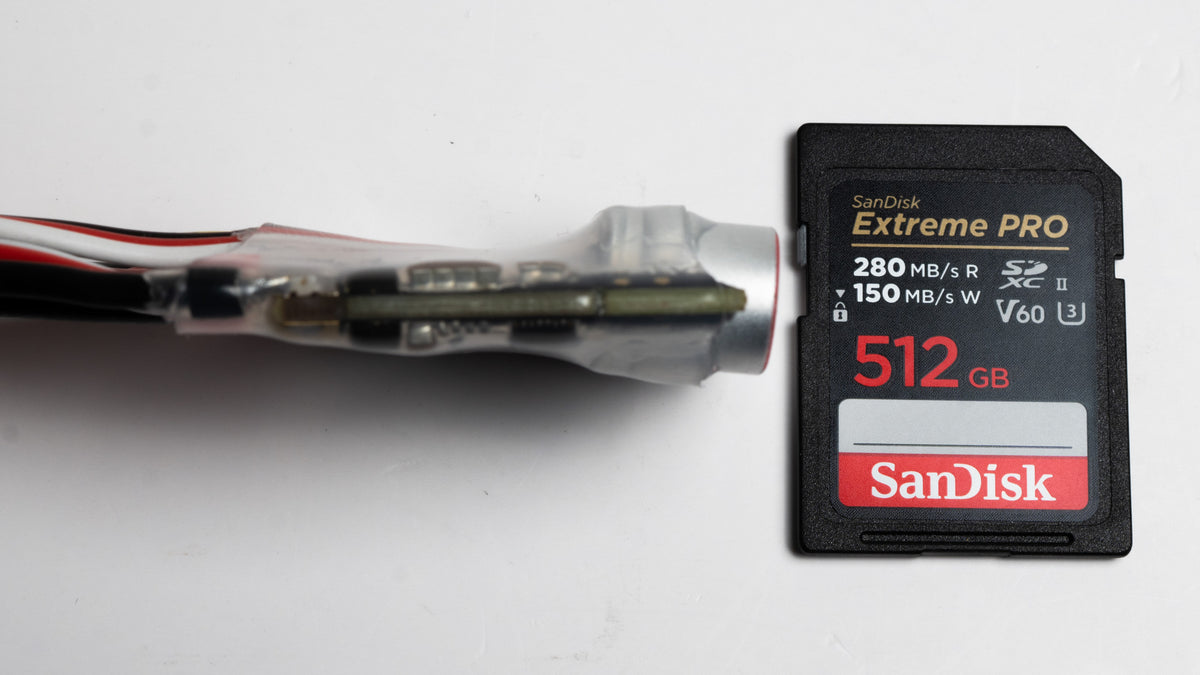
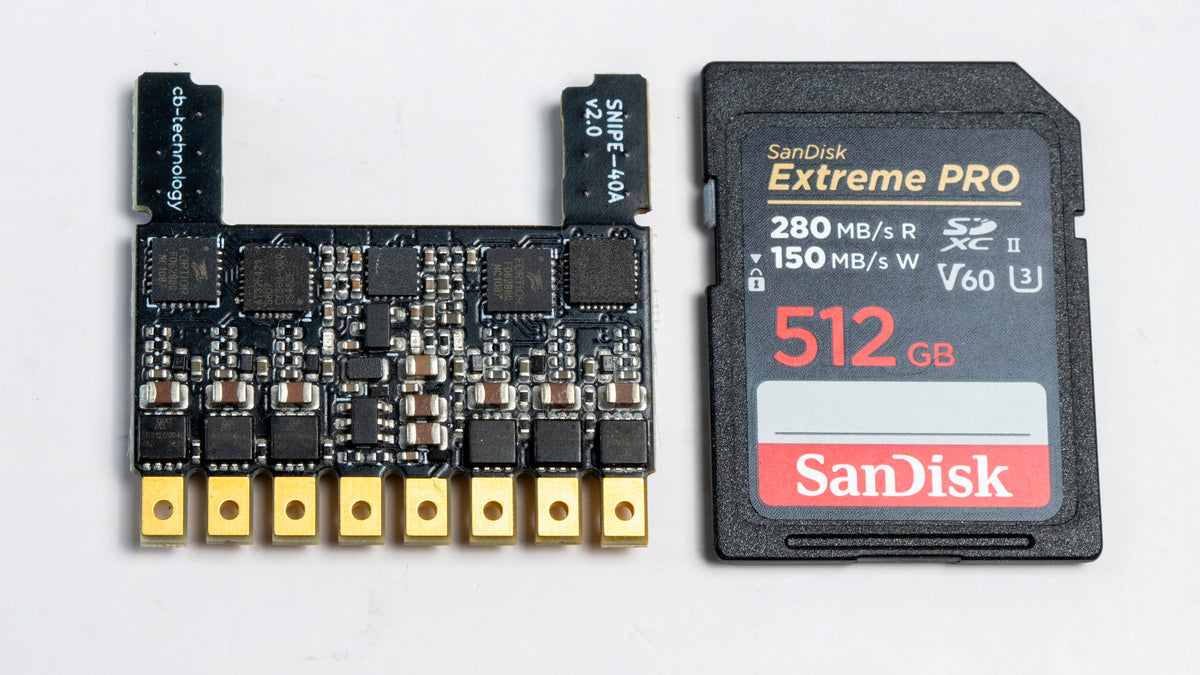
The SNIPE Dual 40A is a compact dual brushless ESC designed and built by Connor Benton (cb-technology) in Christchurch, New Zealand. It functions like a brushless WEKA, built on trusted AM32 firmware that's been heavily customized to add Simon-says calibration and single-pin programming. You get two 40A channels on a single 32 x 20mm board, and you only program the settings once through one signal pin. Whatever you write in the AM32 configurator goes to both channels at the same time, saving precious time and preventing mistakes. NOTE: the current batch for October 2026 is a beta batch, as this is the first 2.0 hardware. Prices may go up with the future versions so don't wait to pick one up now!
It also has built-in mixing. A quick "Simon-says" calibration on your radio sets tank, arcade, or single-input mode, maps any input to either motor, and reverses directions, so no resoldering motor wires or fiddling with radio settings.
Calibration (Mixing Setup)
The SNIPE sets your drive mode, channel mapping, and motor direction right from your radio:
- Prop the robot up or put it in a test box; it will twitch during calibration.
- Power on and let the receiver connect. Within 10 seconds, wiggle the drive channel stick(s) back and forth full-throw 20 times.
- Both blue LEDs pulse 10x. Return sticks to center.
- Move any stick to max and back to start. The robot twitches in a direction; copy that motion on your radio using the drive style you want (both sticks forward for tank, one stick forward for arcade). Do this twice.
- Both LEDs pulse 10x and the settings are saved.
Nothing saves until the end, so if you mess up, just power cycle and start over. Full step-by-step instructions are in the github documentation.
Like all our AM32 ESCs, SNIPE has incredible responsiveness and low-end torque, tailored for sensorless brushless motors. Perfect for many of our brushless motors like the Blitz Pro, Blitz Lite, 2306.5, and most 12lb-class drive motors!
Accepts standard Servo PWM or a single-wire CRSF receiver, detected automatically at power-up. Programming is not usually required; this product will work out of the box for brushless drive! You may need to change the KV setting to match your motors if they are far off the default ~2200kv setting.
These ESCs are provided with specific firmware settings optimized to pair well with the motors we sell. They are intended for use on RC-controlled robots and ground vehicles, and are not intended for use in any sort of UAS, UAV, or other aerial application.
Specs
Specs
Key Features:
- Two bidirectional brushless outputs, 40A continuous per channel
- Input Voltage Range: 2-6S LiPo/LiHV (6.0 - 26.1V). Do not exceed 6S; the 40V MOSFETs are for voltage spike headroom, not higher cell counts.
- BEC Output: 5V, 250mA (receiver only, no servos)
- Signal Input: Servo PWM or CRSF, auto-detected at power-up
- Built-in mixing: tank, arcade, or single-input mode, set by on-radio calibration
- Per-channel failsafe: only stops the motor whose input is lost
- Configurable under-voltage and over-temperature protection
- TVS diode for transient voltage spike protection
- Red power LED and dual blue status LEDs for run, fault, and calibration modes
Weight and Size:
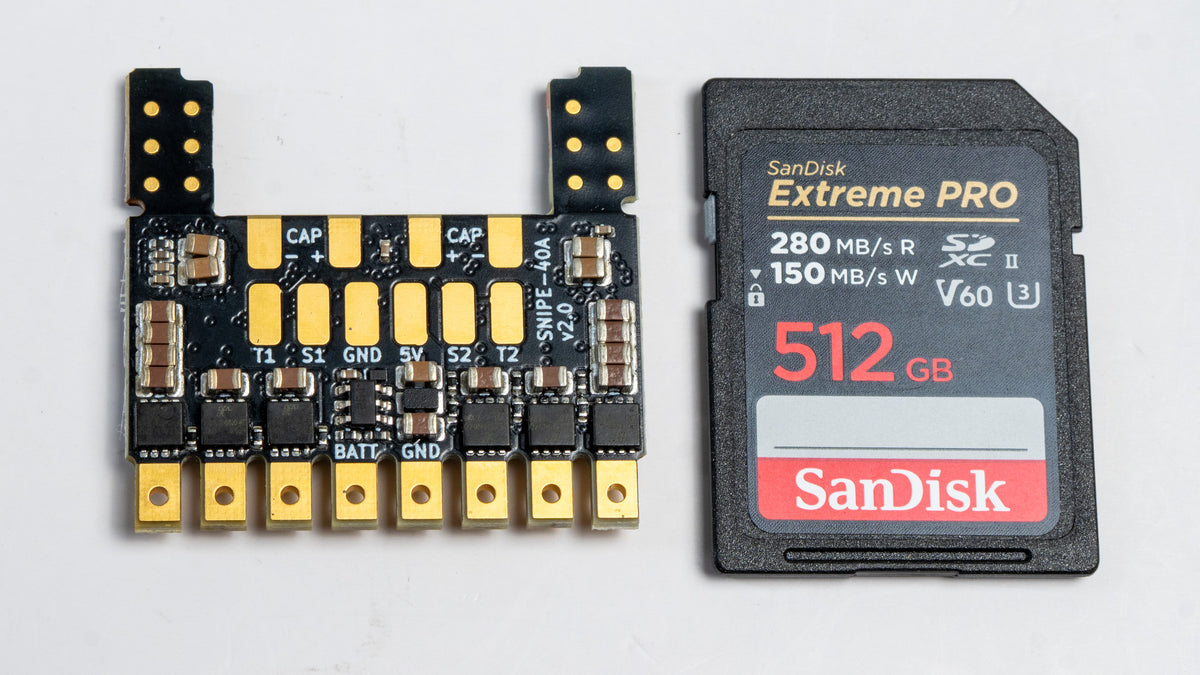
- 32mm x 20mm x 5mm (excluding capacitors and mounting wings)
- 5g bare (no wires or caps)
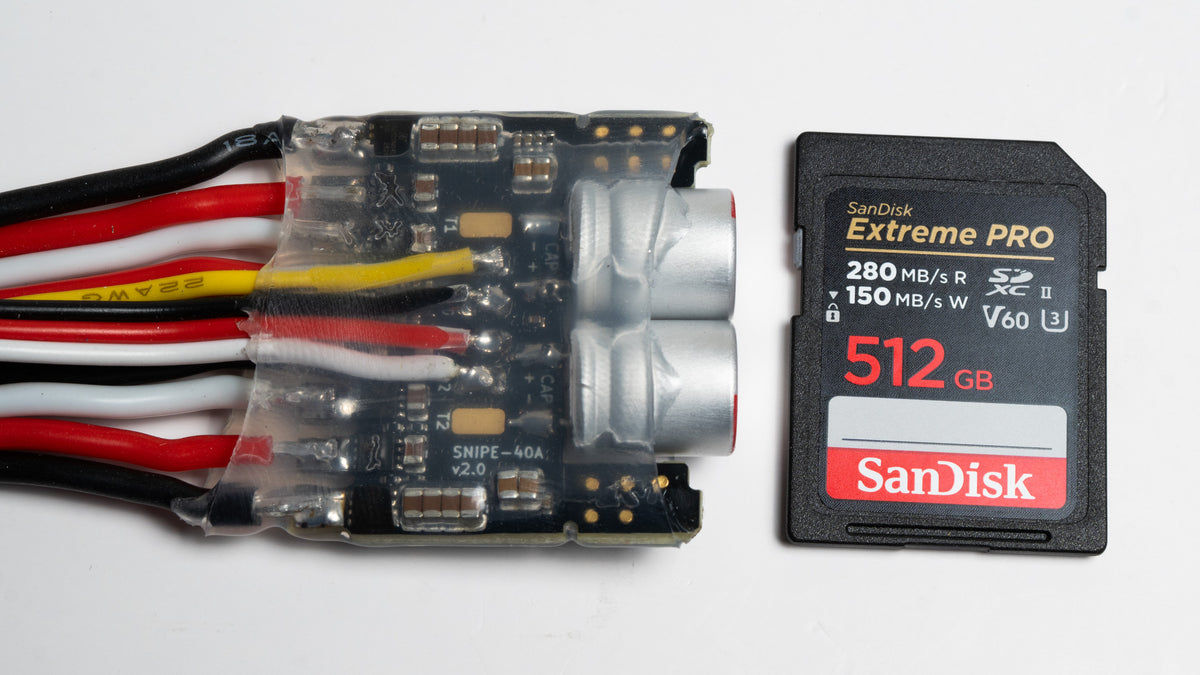
- ~7.5g bare with caps only
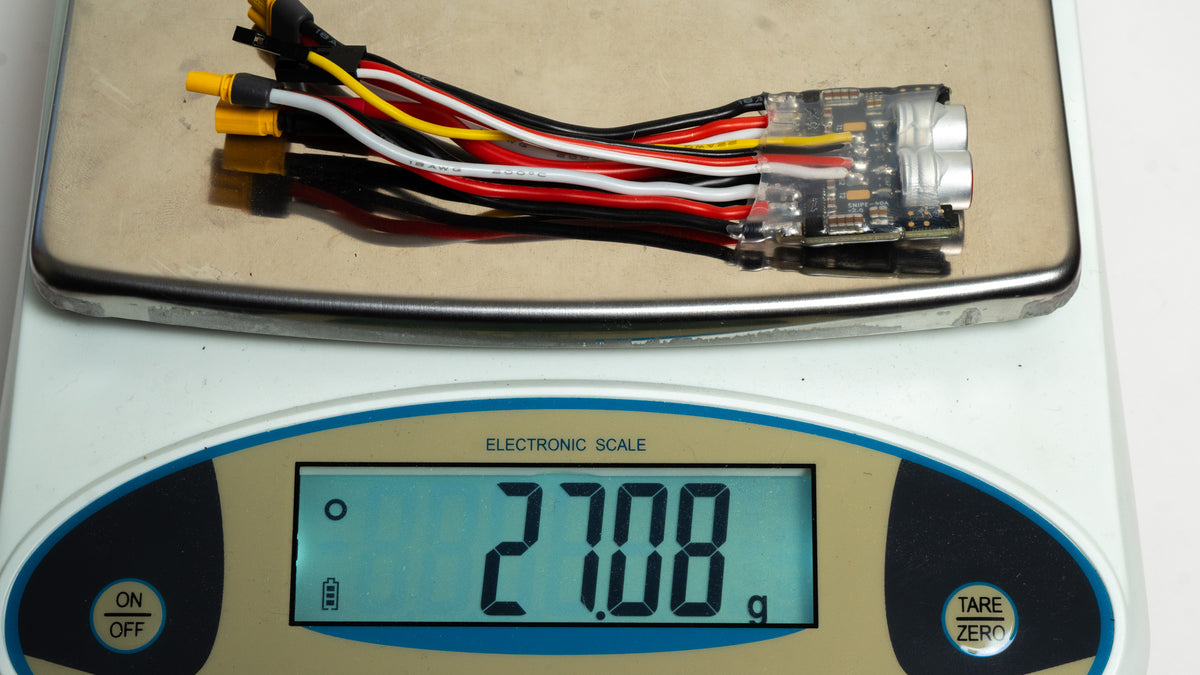
- ~27g with all included wires, caps, and heatshrink
- CAD model available here!
Included:
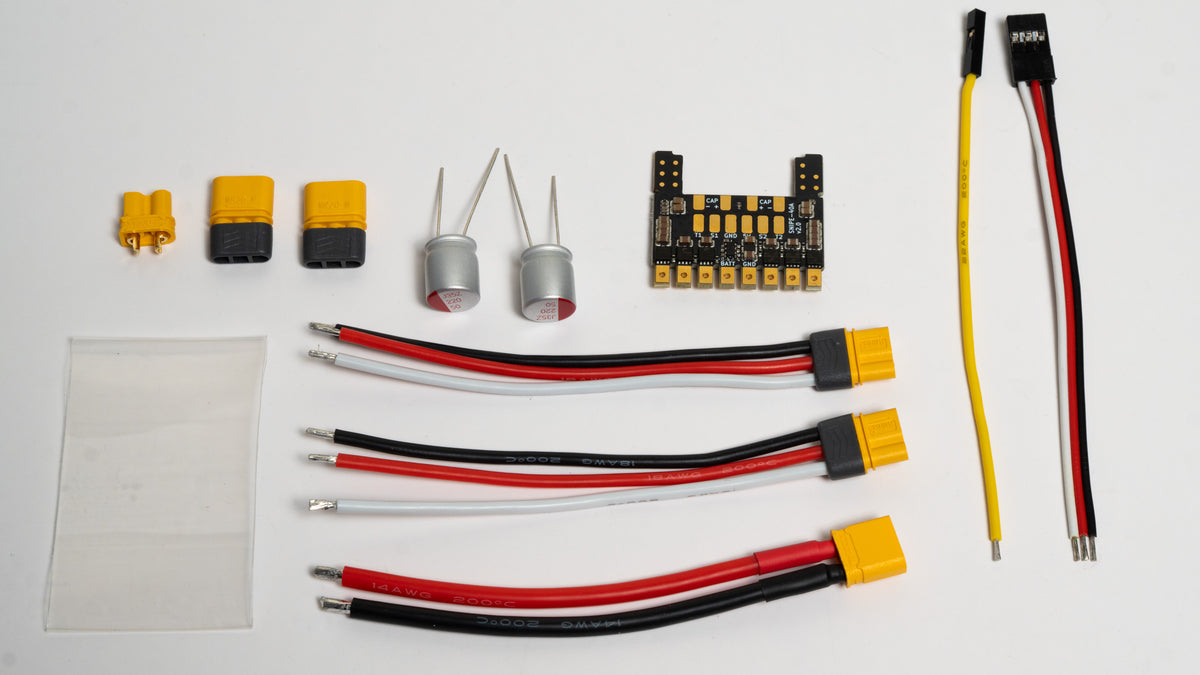
- 1x SNIPE 40A Dual ESC
- 2x 35V 470uF capacitors
- 1x heatshrink
- 1x 90mm XT30-M 14AWG power input cable
- 2x 90mm MR30-F 18AWG motor output cables
- 1x 90mm 3-pin DuPont signal input cable (white, red, black)
- 1x 90mm 1-pin DuPont signal input cable (yellow)
- 1x XT30-F connector and 2x MR30-M connectors (mating type to the cables)
Motors sold separately.
Default Configuration:
- Brushless drive (bidirectional mode), tank mixing: Channel 1 → Motor A, Channel 2 → Motor B, neither reversed
Wiring Guide
Wiring Guide
This image shows the wiring for a typical PWM/Servo control scheme. Click to download a larger image. 
| Using... | Plug into... | Notes |
|---|---|---|
| Servo PWM receiver | S1 and S2 | One wire per channel, both needed to drive both motors |
| CRSF receiver | S2 only | Single wire. Do NOT use S1 |
| AM32 USB programmer | S1 only | Only detected on S1, and only at power-up |
CRSF goes on S2, the programmer goes on S1. This is the most common mistake: a CRSF receiver on S1 won't be seen, and a programmer on S2 won't be found.
Common gotchas:
- Changed receiver or protocol? Power cycle the SNIPE. It only detects the protocol at power-up. If the new receiver has a different number of channels, recalibrate too.
- Set your receiver failsafe to "no pulses" (CRSF) or "no signal" (PWM). If the receiver keeps sending the last stick positions after losing the transmitter, the SNIPE can't tell the link is gone.
- Power on with a fully charged battery. The SNIPE counts cells at power-on to set the low-voltage cutoff, and a low battery can make it guess too low. If you know your cell count, set an absolute cutoff (3.3V x cells) in the configurator instead.
SNIPE vs. Catalyst: The Catalyst dual ESC + receiver is a great all-in-one for 3lb and lighter bots, but it only works with AFHDS2A/FlySky-compatible radios and has no official current rating. The SNIPE doesn't include a receiver, but it's significantly more powerful, is rated for 6S LiHV with 40V MOSFETs for extra spike headroom, and will drive most 12lb drivetrains while still fitting in most 1lb and 3lb designs. It works perfectly with ELRS receivers over single-wire CRSF (leave "Input Signal Type" on "Auto" in the AM32 configurator), so you can use tiny micro receivers like the RP1, RP2, XR2, BetaFPV Lite, and more. For a full comparison, see our blog post (coming soon).
Settings
Settings
Changing Settings
To change firmware settings, you need a USB Programmer, or can make one using an Arduino. Any programmer that works for BlHeli_32 will work with AM32 as well. See this video for details on making an arduino programmer. Note that to program the ESC you must connect it to a battery for power (or power supply, anything in the accepted input voltage range will work). Plug the programmer into S1 before applying power.
Unlike other dual ESCs, you only program once and both channels get the same settings.
Do not change these settings, or the SNIPE will refuse to drive and flash an error code on the right blue LED:
- Bi-Directional (3D mode): ON
- Current Limit: OFF
- Input Signal Type: Auto (or Servo)
- Disable Stick Calibration: ticked
The SNIPE also reads the Low Voltage Cutoff, Temperature Limit, and Servo Low/High/Neutral/Deadband settings, so changing those changes how the SNIPE itself behaves.
An explanation of what these settings do can be found here. Note that the motor poles and KV values do not need to match your motor for this ESC to function, the defaults will work fine for most motors. Furthermore, I strongly recommend watching this video before messing with these settings.
If you experience issues where your motor is not reaching full speed or spinning up correctly, especially for inrunners (which have a lot fewer poles) and higher KV motors, you will just need to change the pole and KV settings to more closely match your motor.
About Current Ratings
Current ratings on ESCs and motors can be pretty misleading, as has been discussed in our past videos. It isn't clear what any given supplier uses as their test method to determine current ratings; often the best way to find out if an ESC works is just to try it out or ask others who have had success with it. The SNIPE has been tested to the best of our abilities and the current rating is conservative compared with most ESCs on the market.